Compress PDF & Images Online — Reduce File Size to a Target KB
Large files can be frustrating, especially when a website, application form, email service or online portal has a strict file-size limit. This tool was built for that situation.
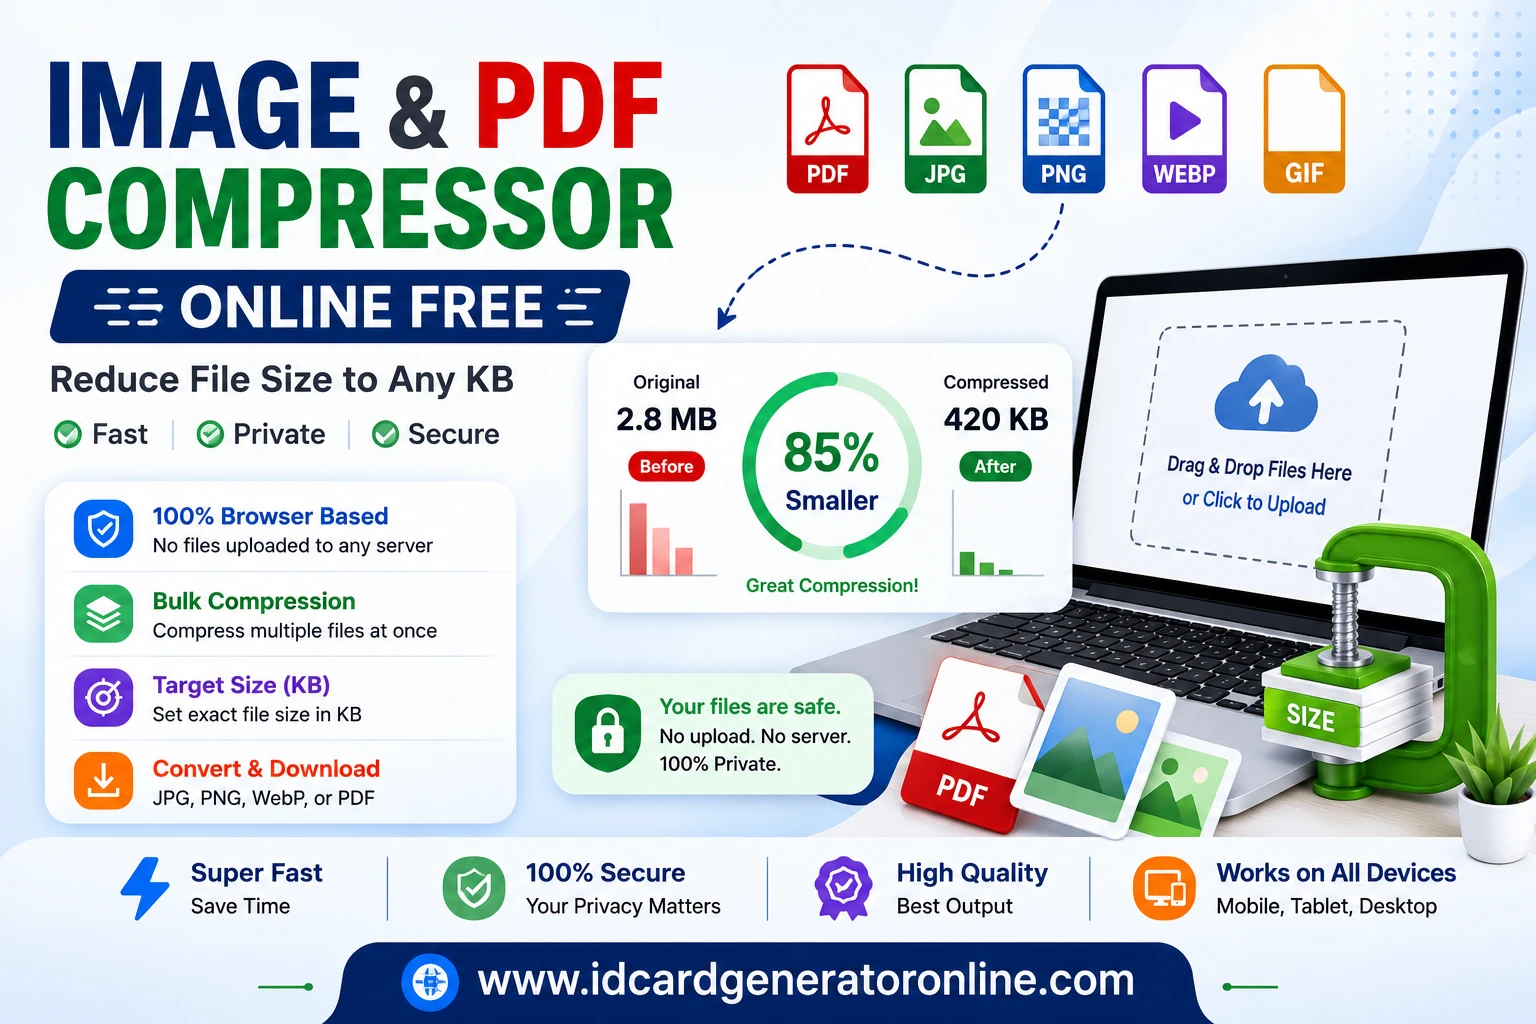
You can compress JPG, PNG, WebP, GIF and PDF files directly in your browser. Choose a compression level when you want a quick result, or enter a target size such as 200 KB when a form gives you a specific limit. The tool also shows an estimated compressed size before you download the result, so you can compare file size and quality instead of compressing the same file repeatedly and guessing which version will work.
Compress your files
Drop images or a PDF here
or tap to browse — JPG, PNG, WebP, GIF or PDF · any size · multiple files welcome
Choose FilesThe tool lowers quality (and resolution, if it has to) until each file fits under your target. Very low targets on large photos will look soft — that's the trade, not a bug.
By default a PDF comes back as a compressed PDF and a JPG comes back as a compressed JPG — but you can convert on download, e.g. upload a JPG and download it as a PDF. PNG is lossless, so PNG output shrinks by reducing resolution instead of quality.
What This Compressor Does
This is a browser-based file compressor for everyday documents and images. It does not require an account, and the processing runs on your device rather than sending your files to a separate upload service.
You can work with one file or select several together. For images, the compressor adjusts image quality and, when necessary, reduces dimensions to reach a smaller size. PDF pages are rendered and rebuilt during compression.
The result depends on the original file. A large photograph usually has more room for size reduction than an already optimized image. A scanned PDF may shrink considerably, while a text-based PDF that is already small may show only a modest reduction.
How to Compress an Image or PDF
- Select your file. Drag it onto the box or tap Choose Files. You can select a JPG, PNG, WebP, GIF or PDF, and you can select several files at once if you need to process a batch. There's no file count limit beyond what your device's memory can hold.
- Choose how much to reduce the file. The tool compresses each file at Normal, Medium and Hard in the background and shows the resulting size next to the file — for example Normal 412 KB · Medium 218 KB · Hard 96 KB — so you can compare before committing. If you have a specific requirement, choose Target Size and enter the maximum size you need, such as 50 KB, 100 KB or 200 KB.
- Check the result. The size shown for each level is the real size of the file you'll download, which lets you choose the level that fits your file instead of defaulting to the strongest compression.
- Select the output format. "Same as uploaded" is the default. You can also convert on download — for example, an image can be saved as a PDF when a portal requires a document rather than an image, and a PDF page can be saved as a JPG, PNG or WebP image.
- Download the compressed file. Once processing is complete, use the Download button for the file you want to keep.
How Target-Size Compression Works
Sometimes the problem isn't simply that a file is large — a website may state a maximum file size, such as 100 KB. In that situation, a general compression level may not be enough. The Target Size option lets you enter the approximate maximum size you're trying to reach.
The compressor adjusts image quality and, when necessary, the image dimensions. Lower target sizes require greater changes to the original image, so there is a trade-off between file size and visual quality. Reducing a 3 MB photograph to 200 KB can still produce a usable image; forcing the same photograph down to 20 KB can make faces, signatures or small text noticeably softer.
Always check the final file before submitting it — meeting a KB requirement is only part of the job; the image also needs to remain usable.
A Practical Example
Suppose a phone photograph is 3 MB and an application form accepts files up to 200 KB. Upload the photograph and select Target Size, enter 200 KB, and process the image.
The compressor may need to reduce both image quality and dimensions to reach the target. The exact result depends on the photograph, so there's no fixed percentage that applies to every image. After the file is generated, open it and check that the person's face, signature or other important detail is still clear — if it's too soft, a larger target size may be worth using if the website allows it.
Normal, Medium or Hard: Which Should You Choose?
All three levels do the same two things, at different strengths: they re-encode the image data at a lower quality setting, and past a point they also reduce the resolution. Here's what each one is for:
Normal
A high-quality re-encode at full resolution. Suitable when you want to preserve as much image quality as possible while still getting a smaller file.
Medium
Moderate quality plus a slight resolution trim. A practical choice for email attachments, WhatsApp documents and most "file too large" errors, without being too aggressive.
Hard
Low quality and a real resolution cut. Produces a much smaller file, but fine details and text can become less clear.
Target Size
You enter the maximum size you need — such as 50 KB, 100 KB or 200 KB — and the tool searches for a quality setting (and reduces resolution if needed) that fits your file under that limit.
| Setting | When I would use it | Expected trade-off |
|---|---|---|
| Normal | When quality is more important than maximum reduction | Larger file, better preservation |
| Medium | Everyday uploads and sharing | Balance between size and quality |
| Hard | When the file-size limit is strict | Smaller file, more visible quality loss |
| Target Size | When a website specifies a maximum KB | Tool tries to reach the requested size |
There is no single setting that works best for every file — a simple photo, a detailed screenshot and a scanned document with small text can each respond differently. If you're unsure, start with Normal or Medium, check the result, and move to a stronger setting only if the file is still too large.
What Happens to Image Quality?
Compression always involves a trade-off when lossy image encoding is used — a smaller file generally means more image information has been removed. The effect is usually hard to notice at moderate compression for ordinary photographs. At stronger settings, you may notice softer text, less detail, blocky areas or changes around sharp edges.
For an ID photograph, signature or scanned document, it's worth avoiding the strongest setting unless the receiving website has a strict size requirement. After compression, zoom in on the important part of the image before uploading it.
JPG, PNG, WebP and PDF: Which Format Should You Use?
JPG
A practical choice for photographs. It uses lossy compression, meaning some image information is discarded to reduce file size. It's widely accepted by websites and online forms.
PNG
Useful when you need lossless compression or transparency — a good choice for graphics, screenshots and images with sharp edges or text. A PNG photograph can be considerably larger than a JPG.
WebP
Can produce a smaller file than JPG or PNG while keeping good visual quality. Particularly useful for websites — check that the service receiving the file accepts WebP.
Useful when the destination expects a document rather than an individual image — for example, when several pages of scanned material need to be shared as one file.
Compress and Convert in One Step
Because the whole thing runs on a canvas in your browser, changing the output format costs nothing extra. Some combinations people use every day:
- JPG → PDF: a portal only accepts PDF, but your scan is a photo. Upload the JPG, pick PDF as the download format, and you get a single-page PDF at the compressed size.
- PDF → JPG: you need one page of a document as an image for a presentation or a form. The PDF's page is rendered and exported as an image — see the note on PDF-to-image conversion below.
- PNG → WebP: screenshots saved as PNG can be large. WebP keeps them sharp at a noticeably smaller size in most cases.
- Anything → WebP: when the file's final home is a website, WebP is often a good option — usually smaller than JPG at a similar visible quality, and supported by current browsers.
Why the Compressed File Is Sometimes Larger
Compression doesn't guarantee that every output will be smaller. This can happen when an image is already highly optimized, or when you convert it to a format that is less efficient for that particular image.
PNG is a good example. PNG uses lossless compression, so reducing its file size usually means reducing the image dimensions rather than simply lowering a quality setting. In some cases, converting another image into PNG can actually produce a larger file. If you upload a JPG and download it as a PNG at Normal level, the file can even get bigger — this tool shows the real resulting size instead of assuming every conversion will be smaller.
When You Might Need to Compress a File
File compression is useful when the original file is larger than the service you need to use. Common examples include:
- Uploading a photograph to an application form with a KB limit
- Reducing a scanned document before sending it by email
- Preparing images for a website
- Making several photographs easier to share
- Reducing the size of a PDF before uploading it
- Preparing a JPG or PNG for a service that requires a smaller file
- Converting an image into a PDF when a portal accepts PDF instead of an image
Check the requirements of the website where you are uploading the file first. A smaller file is not always a better file if important text or image details become hard to read.
Compressing Photos and Documents for Online Applications
A common reason for using a compressor is an online application that refuses a file because it's too large. This can happen with an ID photograph, signature, scanned certificate, mark sheet, resume or another document. The important point is that there's no single file-size limit that applies to every application.
Before compressing a file, check the instructions on the website where you're submitting it. Look for the maximum file size, accepted format and, for photographs, the required dimensions.
For example, if an application page says a photograph must be below 200 KB, enter 200 KB as the target rather than choosing an arbitrary compression level. If the requirement is 50 KB, use 50 KB instead.
After compression, don't stop at the file size. Open the result and check that the photograph, signature or document is still clear enough for its intended purpose. For scanned certificates and other documents, readability matters more than making the file as small as technically possible.
Examples of Files You Might Need to Compress
ID card photograph
A phone camera can produce a photograph that is much larger than necessary for an ID card. If a printing service or upload form has a size limit, compression can reduce the file without requiring desktop editing software.
Application photograph or signature
Some application websites specify both dimensions and a maximum file size. Compression helps with the file-size part, but you should also check the required dimensions separately.
Scanned certificate
A scanned educational certificate can be large because every page contains image data. If an application portal accepts PDF but has a strict size limit, compressing the PDF can make the upload easier.
Employee or visitor badge
If you're preparing photographs for an ID-card or badge system, smaller image files can make storage and handling easier.
Resume or supporting PDF
A PDF containing scanned pages can become much larger than a text-only PDF. Compression can help when an application system has a maximum upload size.
When Compression Alone Isn't Enough
If a form requires a particular width and height, compression alone may not solve the problem — you may first need to resize or crop the image and then compress it. This is common with photographs taken on modern phones, since the original camera file can be several megabytes even when the photograph doesn't need to be that large for an online form.
Compressing Scanned PDFs
Scanned PDFs can become large because every page may contain a high-resolution image. A document that looks like a few pages on screen can occupy many megabytes.
This compressor handles PDF pages by rendering them and rebuilding the document using compressed page images, which can be useful for scanned documents. There is an important limitation: not every PDF shrinks by a large amount. A text-based PDF that has already been optimized may have very little unnecessary image data, so aggressive compression may provide only a small reduction.
Always open the compressed PDF and check the important pages before submitting or sharing it.
How the Compression Works
The compressor does not apply the same reduction to every file.
For JPG and WebP images, it changes the encoding quality and can also reduce the image dimensions. For PNG, the approach is different because PNG is lossless; the tool reduces the image resolution instead of simply lowering a quality percentage.
PDF files are handled separately. Their pages are rendered in the browser and then rebuilt into a compressed PDF.
When a target size is entered, the tool makes several attempts with different quality and resolution settings. This is why a 200 KB target may produce a different visual result for a photograph than it would for a simple screenshot.
There is no universal compression percentage that works for every file. The original format, dimensions, content and existing compression all affect the result.
Does the Compressor Upload My Files?
Compression is performed locally in your browser. The selected files are processed by the browser-based compression code rather than being sent to a dedicated file-compression server. The compressed file is generated in your browser's memory and saved to your downloads folder, and there's no account or history of what you've compressed.
This can be useful when working with personal documents, photographs or other files you'd rather not upload to a third-party service. Browser-based processing still depends on your device and browser, though — very large files or large multi-page PDFs may need more memory and processing time.
What I Check Before Uploading a Compressed File
I don't recommend downloading a compressed file and immediately submitting it to an important application. I would check these things first:
For a photograph
- Is the person's face still clear?
- Is important text or detail still readable?
- Is the image the required width and height?
- Is the file format accepted?
- Is the file actually below the stated KB limit?
For a signature
- Are the strokes still visible?
- Has the background become unnecessarily dark?
- Is the signature still recognizable at its displayed size?
For a PDF
- Does every page open?
- Is small text still readable?
- Are pages missing?
- Is the final file below the portal's limit?
A smaller file is useful only if it still meets the requirements of the place where you are submitting it.
Important Limitations
This tool is intended for ordinary image and PDF compression in a web browser and isn't designed to preserve every property of every possible document. In particular:
- Very aggressive image compression can reduce visual quality
- Very small target sizes may make photographs or text difficult to read
- Already optimized files may not become much smaller
- PDF compression can take longer for documents with many pages
- PDF-to-image conversion exports the first page when an image format is selected
- Browser memory can become a practical limit with very large files or batches
- Always check the destination website's current file-size, format and dimension requirements
The goal isn't simply to produce the smallest possible file — it's the smallest file that still works for your particular purpose.
Why I Built This Compressor
I built this tool after running into a problem that looks simple until you actually need to solve it: a website asks for a photograph or document below a particular file size, but the original file is much larger.
A phone photograph can easily be several megabytes. A scanned document can also become unexpectedly large because every page may contain a high-resolution image.
I wanted a tool where I could select the file, see the estimated result, choose a compression level, or enter a target such as 200 KB, and then download the result without installing desktop software.
I also wanted the tool to be honest about compression. Making a file smaller always involves a trade-off somewhere. A 20 KB photograph may technically meet an upload requirement, but that does not mean it will still look good.
That is why the compressor shows different compression options and allows a target size to be entered. The right setting depends on what the file will be used for.
Most of the times I've actually needed this myself have been while filling out a government or private form — a job application, a competitive exam form, a scholarship or scheme application — where the photo and signature upload boxes come with a strict size limit, often something like "photo below 20 KB–50 KB" and "signature below 10 KB–20 KB." Miss that limit and the form simply won't let you submit, with no built-in way to fix the file on the spot. In an office setting, the same problem shows up differently: you're maintaining soft copies of documents, ID proofs, or scanned records for a file, and keeping every scan at full camera or scanner resolution adds up fast when you're storing dozens or hundreds of them. Compressing each one down to a sensible size before filing it away makes the whole set easier to store, attach to emails, and upload without hitting attachment or storage limits later.
— Pradeep Khillare
Frequently Asked Questions
- Why is my compressed image still larger than the target size?
- The target-size option tries different quality and resolution settings, but the final result depends on the original image. Very detailed photographs can require a significant reduction in dimensions to reach a very small target. If the result becomes difficult to read, use a larger target size when the destination website allows it.
- Can I compress a PNG without losing quality?
- PNG uses lossless encoding, so the tool does not reduce PNG quality in the same way it does for JPG or WebP. To make a PNG smaller, the tool reduces its dimensions. This means a smaller PNG may have fewer pixels even though its encoding remains lossless.
- Why does a JPG usually compress differently from a PNG?
- JPG uses lossy compression, so the compressor can change the image quality to reduce the file size. PNG is lossless, so reducing its dimensions is the more practical way to make a PNG smaller. A photograph saved as PNG can therefore behave very differently from the same photograph saved as JPG.
- Can I compress a multi-page PDF?
- Yes. The tool can process PDF pages and rebuild the result as a compressed PDF. Processing time depends on the number of pages and the size of the original document.
- Can I convert a PDF to JPG?
- Yes. When you choose an image format for a PDF, the tool exports the first page as an image. If your PDF contains several pages, the remaining pages are not included in that image output.
- Can I convert an image to PDF?
- Yes. You can select PDF as the download format. The image is compressed and placed into a PDF document.
- Why does a heavily compressed photograph look blurry?
- A very small file has less information available to represent the original photograph. When the target is particularly small, the tool may reduce both image quality and resolution. Faces, signatures and small text can therefore become less clear.
- Is the compression performed on my device?
- The compression process is designed to run in the browser. Images are processed using browser canvas APIs, while PDF pages are rendered and rebuilt in the browser using the page's PDF processing libraries. This means the tool does not need to send the selected file to a dedicated compression server.
- Does "under 100 KB" mean exactly 100 KB?
- No. If a website specifies a maximum of 100 KB, the file should be at or below that limit. The Target Size option is intended for this type of requirement. Always check the actual size of the downloaded file before uploading it.
- Why did my already-small file barely shrink?
- Compression works by removing or reducing information that can be encoded more efficiently. If a file has already been compressed or optimized, there may not be much room for further reduction without noticeably changing its quality.